grandMA3 User Manual Publication
Edit Layout View
|
grandMA3 User Manual » Layouts » Edit Layout View
|
Version 2.2
|
To open the layout view, follow the instructions under Add Windows.
In the Add Window pop-up:
- Tap Tools.
- Tap Layout Viewer.
The layout view opens.
|
|
Important: |
| When Setup is enabled, it allows the editing of single layout elements. When disabled, it provides editing as in the programmer. |
Add a Layout Element
Tap Setup in the layout viewer window title bar to enable the setup mode. The toolbar is displayed on the left side of the window.
- To add a layout element in the layout window, tap +.
- Tap or tap and drag an empty area in the window, and a new empty layout element is added. (Empty yellow square)
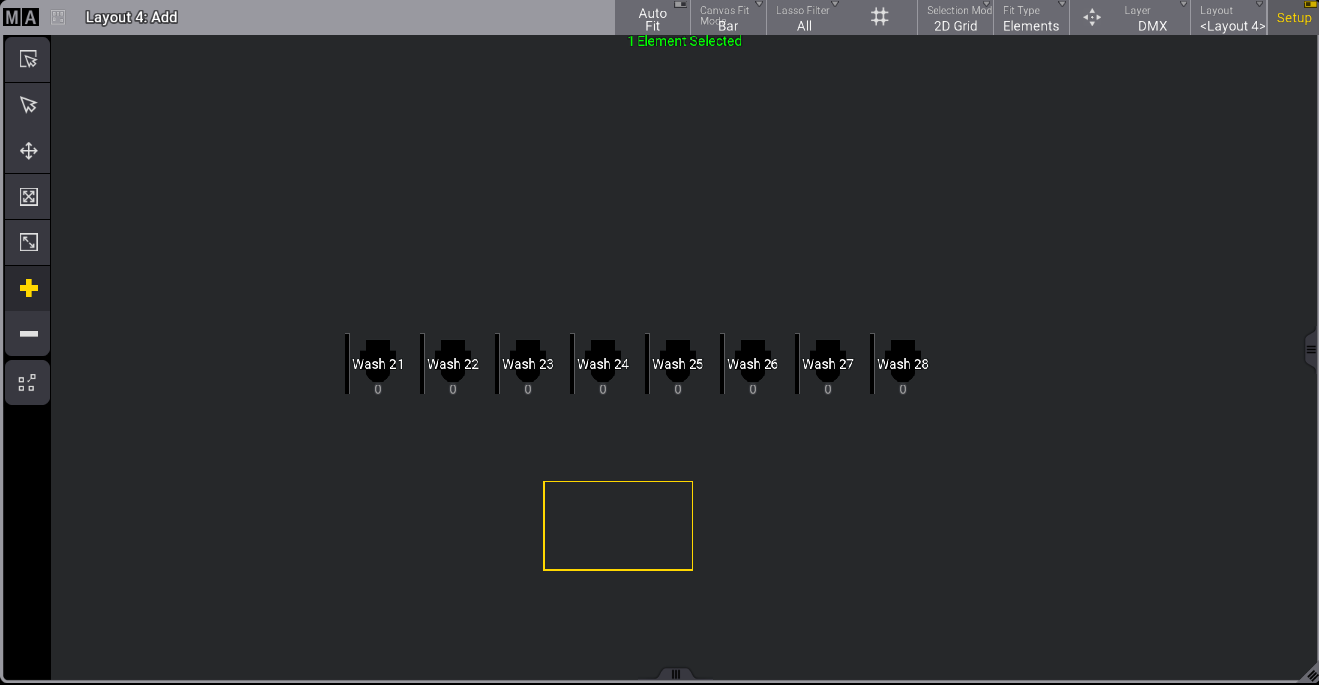
Layout viewer with setup mode enabled
- To assign an object to the element you created in the layout, open the new element with the 2 Finger Edit or press Edit and tap the new element.
The edit layout element pop-up opens:
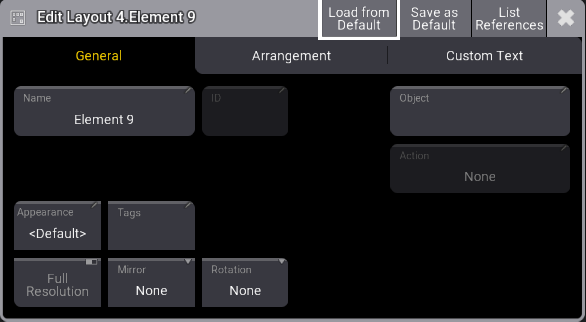
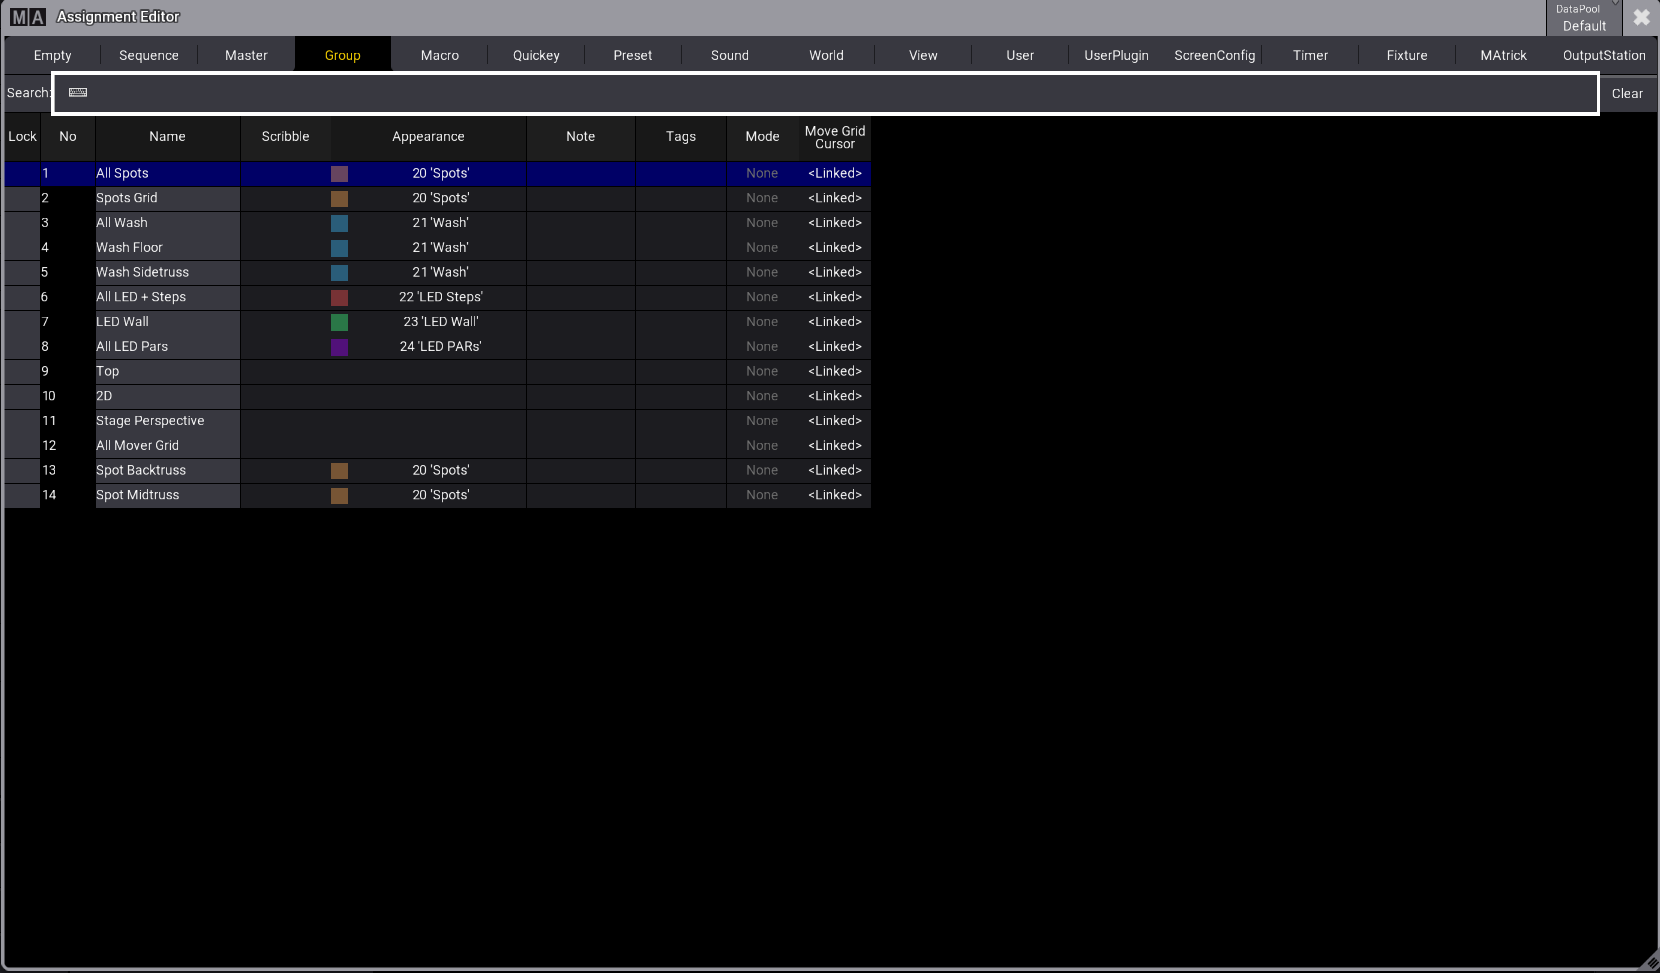
- Under the General tab, tap Object, and the assignment editor opens.
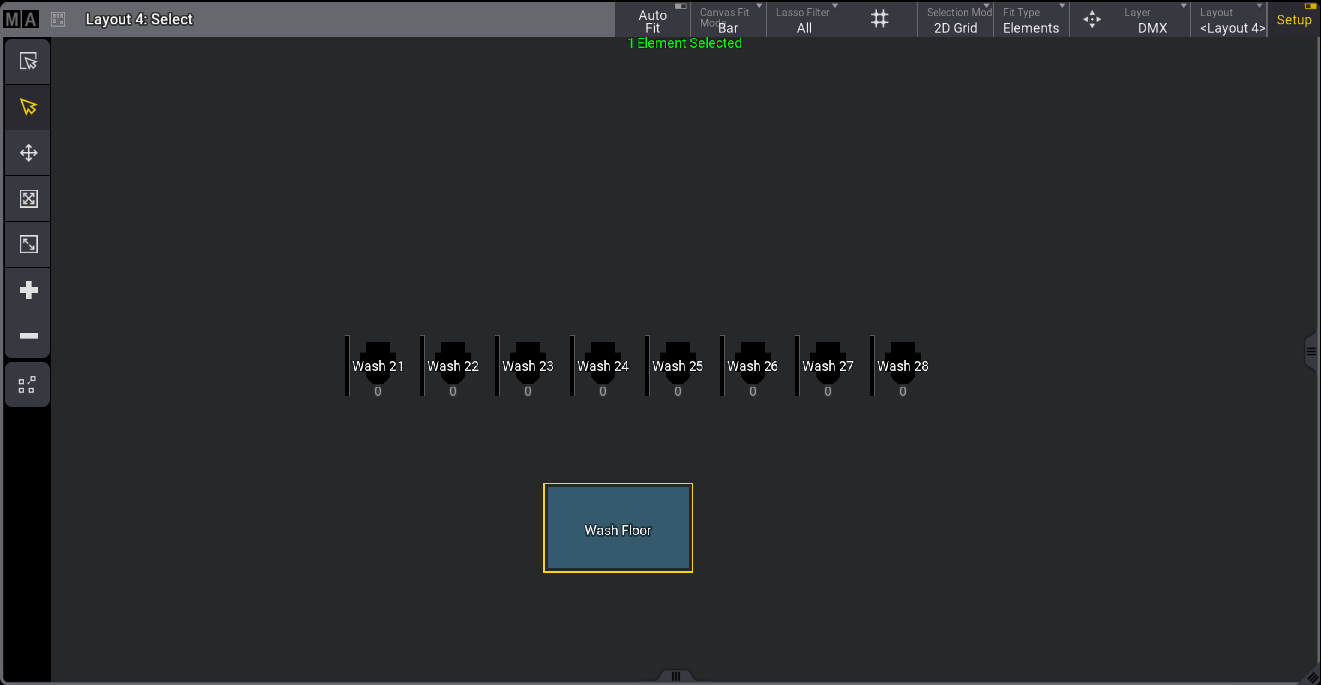
- Select the object you wish to assign to your new element.
Add an Element Using the GUI
For this example, the group pool and the Layout viewer should be visible on the screen.
For example, add group 1 to layout 1:
- Press Assign.
- Tap group 1 in the group pool.
- Tap an empty area in the layout window.
|
|
Hint: |
| Elements can be added in setup mode and normal mode. |
Add an Element Using the Command Line
For example, to assign macro 1 to layout 1, type:
|
|
User name[Fixture]>Assign Macro 1 At Layout 1 |
Layout Toolbar
Use the toolbar to edit elements. For more information, see Create a Layout.