

- grandMA3 User Manual
- grandMA3 Quick Start Guide
- 00 Welcome
- 01 New Show and Setup
- 02 First Patch
- 03 First View Setup
- 04 Control Simple Fixtures
- 05 3D Fixture Setup
- 06 Groups, Appearances, and Scribbles
- 07 Macros
- 08 Store Cues and Use Executors
- 09 Add Moving Lights
- 10 Presets
- 11 Phasers
- 12 Sequence with multiple cues
- 13 Network and How to Output DMX
- grandMA3 Quick Manual consoles
- grandMA3 Quick Manual processing units
- grandMA3 Quick Manual Nodes
- grandMA3 Quick Manual Nodes DIN-Rail
- grandMA3 Quick Manual onPC command wing XT
- grandMA3 Quick Manual onPC command wing
- grandMA3 Quick Manual onPC fader wing
- grandMA3 Quick Manual onPC rack-unit
- grandMA3 Quick Manual viz-key
- grandMA3 Quick Manual I/O Nodes
- Release Notes
New help version
The help version you selected belongs to an older software version. You may want to view the latest help version.
Groups, Appearances, and Scribbles
Table of contents of this topic
Fixture selection can be done using the methods we explored in chapter 4, but when there are fixtures we often use together and need to select them together, then there is another option called Groups.
A group is a fixture selection. The group store the fixture selection and the selection order.
Groups are organized in a Group Pool. This can be created as a window for easy creation, overview, and selection.
Make room in a user-defined area to create a group pool window. The Groups window is created like other windows and can be found in the Pool tab in the Add Window pop-up.
The pool looks like this when empty:
![]()
The square on the left is the Title Field. All pools have one of these. It tells you what kind of pool it is and the MA logo is used to access the settings - just like the logo in the left corner of other windows title bar.
Pools often have fewer settings than more complex windows like the fixture sheet.
The other squares in the pool window are where we can store pool objects. The objects we store in the group pool are groups. A lot of the things we create are stored in pools. For instance, the views we have stored and modified are actually stored in a View pool.
Create Group
We are going to create a few groups with our current fixtures.
The first group is going to be the front lights.
Make sure to start with an empty programmer and then select fixtures 1 thru 8. You do not need to give them a dimmer value.
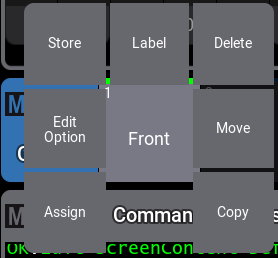
Now click and hold the first group field until a group object appears.
If you look at the Command Line History window then you can see that we did a "Store Group 1" command.
Try to clear your programmer and then click the group. Now you have reselected the fixtures.
The group does not have a name, but we can label the group easily. The last thing we give focus to has a white frame. When a pool object has focus and we start writing on our keyboard then the system assumes we giving it a label.
So you can just start to type: Front - this opens the Edit Name pop-up. Complete the labeling by pressing 'Enter' on the keyboard.
Now the group has a name. There are other ways to do this.
Pool objects have a special Swipey menu that gives access to some common functions. The menu is accessed by clicking and holding the group and then moving the pointer out of the group pool object.
The menu has seven buttons that appear around the pool object. The top center button can be used to give the group a new label. The menu is visible as long as you hold the mouse button pressed or as long as you touch the screen. Move the pointer/finger to the desired button and release. If you do not want to do anything then you can release it outside the buttons.
Create a second group with fixtures 9 thru 14. Label it "Sides". Make sure it only contains the desired fixtures.
Our third group is all the blinders (fixture 21 thru 34).
We are going to make two more groups. It is two selections of the blinders. These two groups together are all the blinders, but we are going to make two symmetrical selections.
Group four is fixtures 21, 24, 25, 27, 28, 30, 31, and 34 - label this "Even Blinders". It is not strictly the even numbers but just ignore this.
The last group is fixtures 22, 23, 26, 29, 32, and 33 - label this group "Odd Blinders".
Now we have the groups we need.
Appearance
Appearances are a defined look that can be applied to most objects. The appearances are also organized in an Appearance pool. A new show already has some appearances in the pool. These can be used like any other appearances you create.
Most objects in the grandMA3 have the option to add an appearance. The purpose is to customize the look of the objects. This can be used as indicators of different fixture types, special cues, or to add icons or images to elements for faster identification.
Images
Images can be used in appearances. There is a separate pool for images. Images can be imported into the pool.
I am going to import and use this image:
![]()
You can right-click it in a browser and save it if you want to follow the example.
It is easiest to have a USB flash drive that you use to import, export, and store show. The drive needs a specific file structure and the image needs to be put in a specific location for the software to be able to import the image. The file structure is created when you use the flash drive with the software. If you insert a stick and save the show to the USB flash drive then you get the needed structure.
The image needs to be saved in \grandMA3\gma3_library\media\images
With the image at the correct location on a USB flash drive, we can import it to the image pool.
Create the image pool somewhere in the user-defined area and right-click the first empty pool object. This opens the image editor:
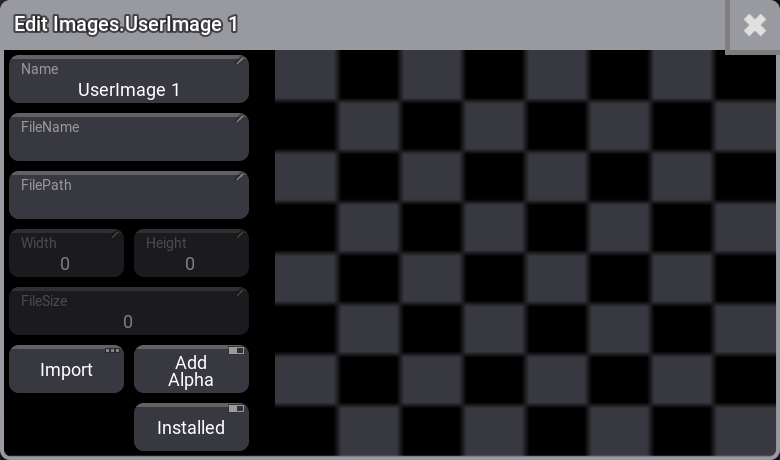
Click Import and change to the USB flash drive in the drive selection in the title bar. Then you should be able to select the image:
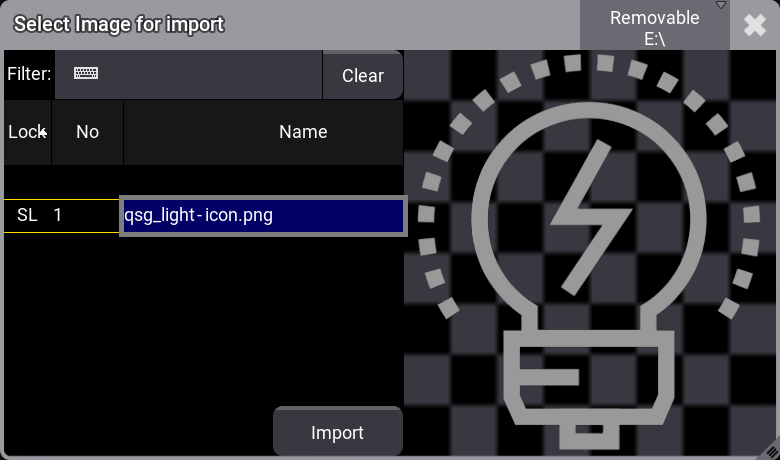
Click Import.
Now close the image editor by clicking the 'X' in the upper right corner. Now the image is in the image pool and it can be used in appearances.
If you want to use custom image icons, then it is a good idea to use a png file with a transparent background and a white icon. Then a colored background can be added to the appearance and the icon can be colored to create different appearances using the same icon.
Back to Appearance
You create an appearance by editing an appearance object in the pool.
The editor looks like this:
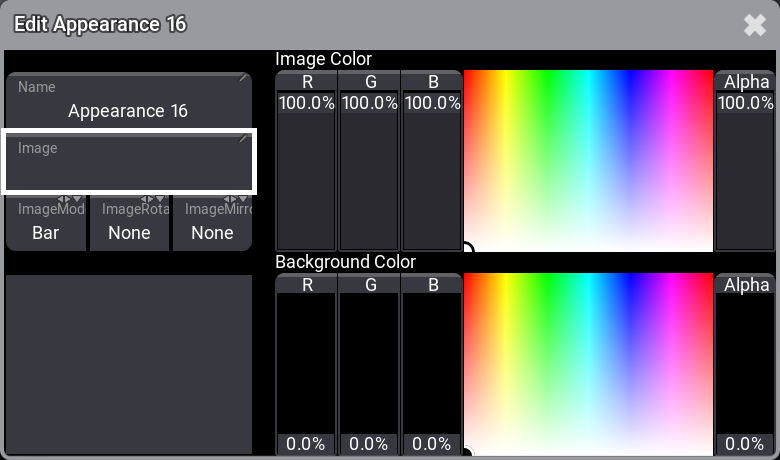
The left side allows you to change the name, add an image, control how the image is adjusted to the size and see a preview. The right side is two sections with color selection. The top one adjusts the image color. The bottom one adjusts the background color. It can only subtract existing colors from the image. It can however add color to a transparent background.
Click Image and select the image we imported.
Now adjust the colors to match your needs.
Close the editor when you are happy.
The appearance can be assigned to a lot of different objects. Many editors have an appearance setting that can be used to select an appearance, but you can also open the swipey menu on the appearance and select 'Assign' and then click the object you want to have the appearance. You cannot assign an appearance to other appearances or any image.
Scribble
Another way to add a custom indication to different objects is the scribbles.
These are small simple drawings that you can create and use. They also live in a pool.
Create the Scribble pool in your user-defined area and edit the first empty pool object.
This is the scribble editor:

The left side is the drawing area. The right side is used to select a drawing color and line thickness. You can also give it a name and there are buttons to clear, undo, change some color, and apply or save the drawing to the pool.
Try the different drawing options.
When you are happy with your drawing then you can save it by clicking Apply.
Scribbles are applied like appearances. They are mostly applied to pool objects, where appearances can also be applied to a wider range of elements for instance, as backgrounds to windows, or the user-defined area.
When we label an object that can have a scribble, there is an extra icon in the corner of the Edit Name pop-up:
![]()
The down-pointing triangle opens the on-screen keyboard. The icon with the squiggly line is the scribble icon. Clicking this opens the scribble editor at the bottom of the edit name pop-up. Creating a scribble here and applying it to the object also adds the scribble to the pool.
When both scribble and appearance are assigned to an object then the appearance is at the back, the scribble is on top of the appearance and the name of the object is at the front.
It could look like this:

Recap
In this chapter, we looked at groups as a selection tool. Created some useful groups.
Finally, we looked at Appearances, Images, and Scribbles as tools to create custom indications and marking of objects.
Groups are described in detail in the Groups section of the main manual.
The main manual also has a section for Images, Appearances, and Scribbles. They have more details on each of the different functions.
We are not going to talk more about appearance and scribbles, but feel free to add more and use them in the rest of the chapters.
The next chapter is about another useful pool - Macros.