- dot2 User Manual
- dot2 Quick Start Guide
- dot2 3D
- Install and Uninstall
- System Requirements
- Installation
- Uninstall dot2 3D
- First Steps
- Hardware Connection
- Create session and connect 3D
- Data Management
- Master/Slave
- Coordinate system
- Program Surface
- Menu Bar
- File Menu
- File - Settings
- Edit
- Functions
- Tools
- View
- Help
- File Menu
- Tool Bar
- Main Windows
- Stage View
- Mouse + Keyboard Actions
- Arrangement of Objects (Align Objects)
- Duplicate (copy 3D Objects)
- 3D Objects
- Assets (Information Window)
- Properties
- Media Database
- Materials
- Video Player
- Moving Paths
- Sessions
- Status Bar
- Window Layout
- Menu Bar
- Fixture Types
- 3D Modeling and Import
- 3D Models Principles
- Parameters
- Axes
- Rotation Axes
- Linear Axes
- Beam of Light
- Automated Import
- Assigning of Models to Fixture Types
- Checklist for 3D Modeling
- Creation of a 3D Model
- Keyboard Shortcuts
- dot2 3D FAQ
- Install and Uninstall
- dot2 Release Notes
Version 1.9
Hardware Connection
To establish a session between the dot2 3D and the dot 2 console, you need a hardware connection.
Requirement: Network cable or Switch that can handle IPv6 and multicast.
Connect the console and the computer with a network cable or switch.
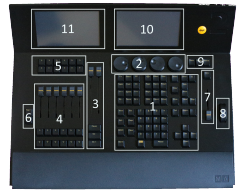
| dot2 desk | Network Cable or Switch | Computer |
|---|---|---|
 |
|
 |


