

- dot2 User Manual
- dot2 Quick Start Guide
- 1 - Introduction
- 2 - Physical setup and layout
- 3 - Create a new empty show
- 4 - Adding and patching dimmers
- 5 - Controlling dimmers
- 6 - Fixture view
- 7 - The programmer
- 8 - Making and working with groups
- 9 - Store a cue and play it back
- 10 - Making more cues in the cue list
- 11 - Adding LED fixtures
- 12 - Working with colors
- 13 - Creating presets
- 14 - External screen
- 15 - Adding moving lights
- 16 - Controlling moving lights
- 17 - Making more groups and Presets
- 18 - More about cues and playback
- 19 - A look at Blind, Preview and DMX tester
- 20 - Fun with macros
- 21 - Building chasers
- 22 - Building dynamic effects
- 23 - Connect to onPC, 3D, Wings and Nodes
- 24 - Happy programming
- dot2 3D
- dot2 Release Notes
Getting Started Guide - Adding moving lights
Let's add some moving lights to our patch. We are going to add 6 pieces of GLP Impression X4 in "Compressed" mode and 9 Clay Paky Alpha Profile 700 in "Standard Lamp on" mode.
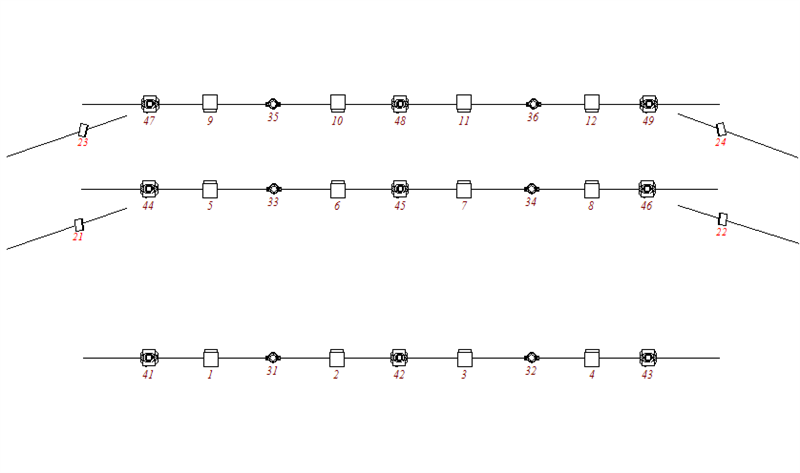
This is our new plot:
Let's add the fixtures together.
Again we need to go to Setup and the Patch & Fixture Schedule.
We need to add new fixtures.
In the type field there's a symbol you need to learn. It's three white vertical dots (the icon is called Ellipsis). It looks like this:

When you press this, then you get a drop down list.
If you do this in the type field then we get a list of the fixture types that already exists in our show. When we added the Cheuvert Colordash Hew 7's, we took a copy from the fixture library and copied it into our show.
We need to do the same with the GLP X4's. Press Select others... and find the GLPs (impression X4 - "Compressed" mode). When you have found them you need to press the OK in the upper right corner.
The quantity should be 6.
We need to give them a Fixture ID. Press Select... next to the ID field. This opens the Select Fixture ID pop-up. Here you can see the occupied fixture IDs and the name of the fixtures who has them. Select 31 and press OK in the upper right corner.
We haven't bothered with the name so far and we are not really going to begin now. But I will tell you one thing about naming. When you write something for a name and the make a space and then a number, then the rest of the fixtures will be enumerated from that number.
Let's give them a patch. Press the three dotted drop down list symbol in the patch input field. This give you a different option for selecting a universe and an address. If you know the start address you can also just type this using the numeric keys.
We need to patch the GLPs at universe 3 address 1 - this is typed 3.1.
We are not going to add an Offset.
Now we can press the OK button in the upper right corner.
That was the GLPs. We still need to add the Clay Pakys.
The process is the same, so I'll just give you the information you need:
- Clay Paky - Alpha Profile 700 - Standard Lamp on
- 9 fixtures
- Beginning fixture ID is 41
- The patch address is 4.1
- No Offset
When you added them, then we can leave the Fixture Setup view by pressing the Done in the upper right corner and Apply the Changes.
Notice the extra fixtures in the fixture view.
Arrange the new fixtures in the number 2 Fixture Layout View according to the plot.
In the next chapter we are going to look at controlling all the extra features we just got.